What We Can Help You Do
Chart Your Course
Our team of design veterans love building complex digital products and integrated services. We'll help you navigate and discover valuable insights that will unlock huge breakthroughs for your organization.
Our team of design veterans love building complex digital products and integrated services. We'll help you navigate and discover valuable insights that will unlock huge breakthroughs for your organization.
From multi-billion dollar conglomerates to two-person startups, from biotech to Britney Spears, and from SF to Tokyo, our team has successfully guided organizations big and small to those “Aha!” moments that transformed their business.
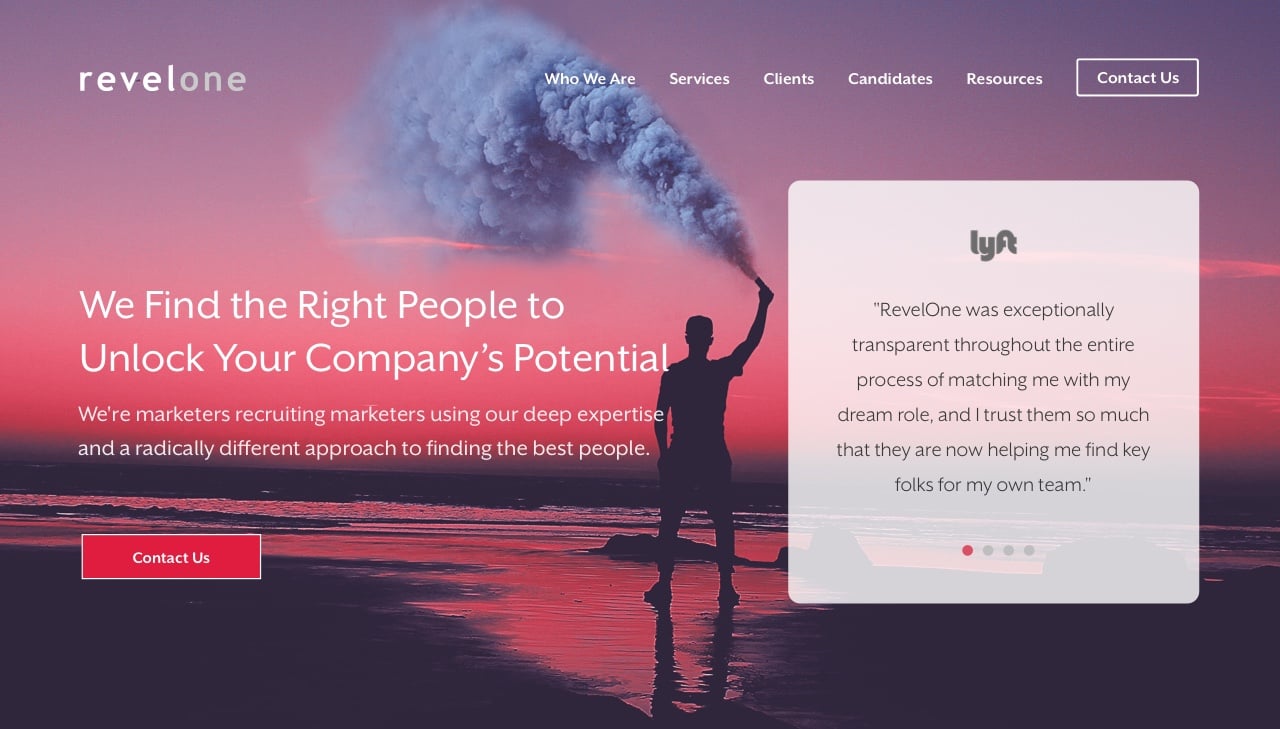
Our Case Studies

Design Insights are some of the most powerful things in the galaxy. They’re the flashes of deep understanding that are only unearthed through careful observation, accurate data, and years of experience. And they can make the difference between a billion dollar product and one that fails miserably.
Our InsightsOur mad scientists have developed a system called Progressive Design to consistently bring these realizations to the surface and harness their full potential for maximum impact.
Our ToolsEmbarking on a design quest with ZURB is unlike anything else you’ve ever experienced. A Design Lead and Designer will be your copilots to refine ideas and build prototypes and Advocate will help surface insights. We move really fast and hate radio silence, so expect communication from us every 2 days to share progress and ensure we’re on the right path. We’re there every step of the way to make sure you achieve your objectives and touch down safely!
Our Process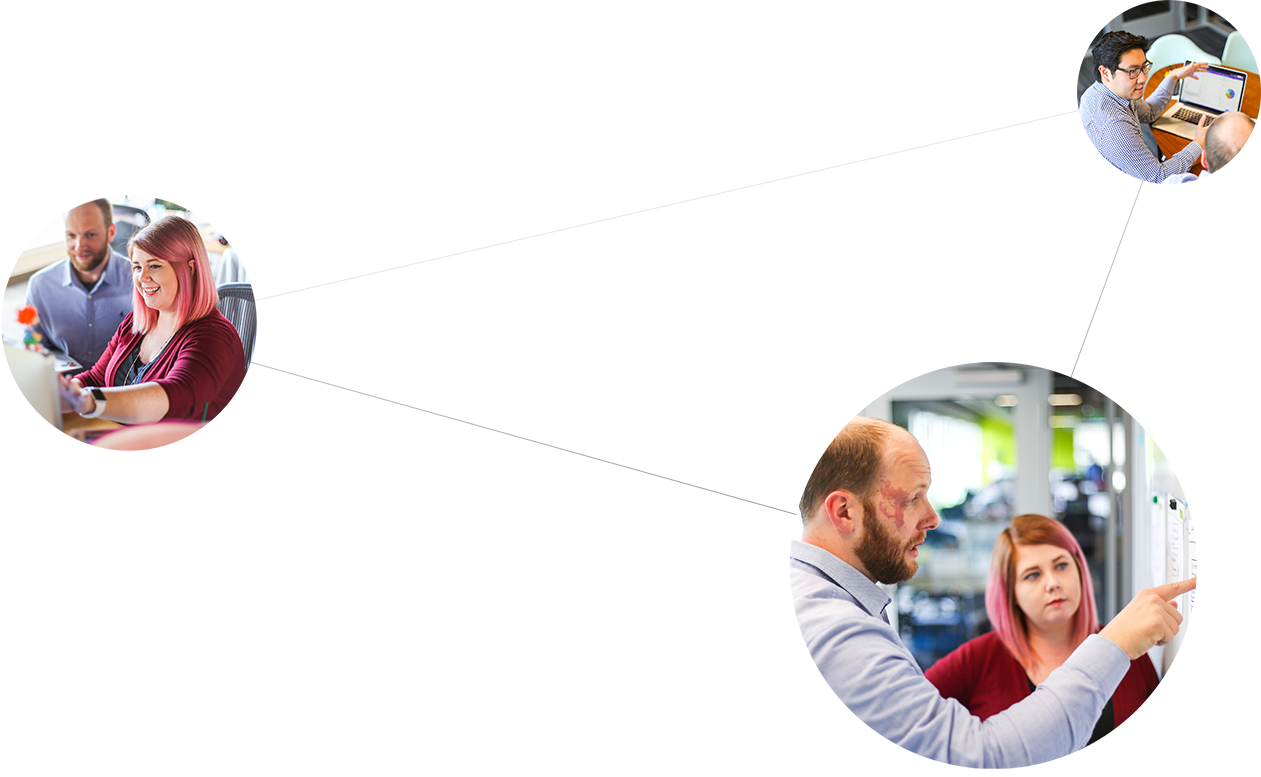
You're well on your way to collecting all the cows! Either check them out now, or click on the cow in the footer!
Check it out